Description
For Smaller Cars – Four Wheeler
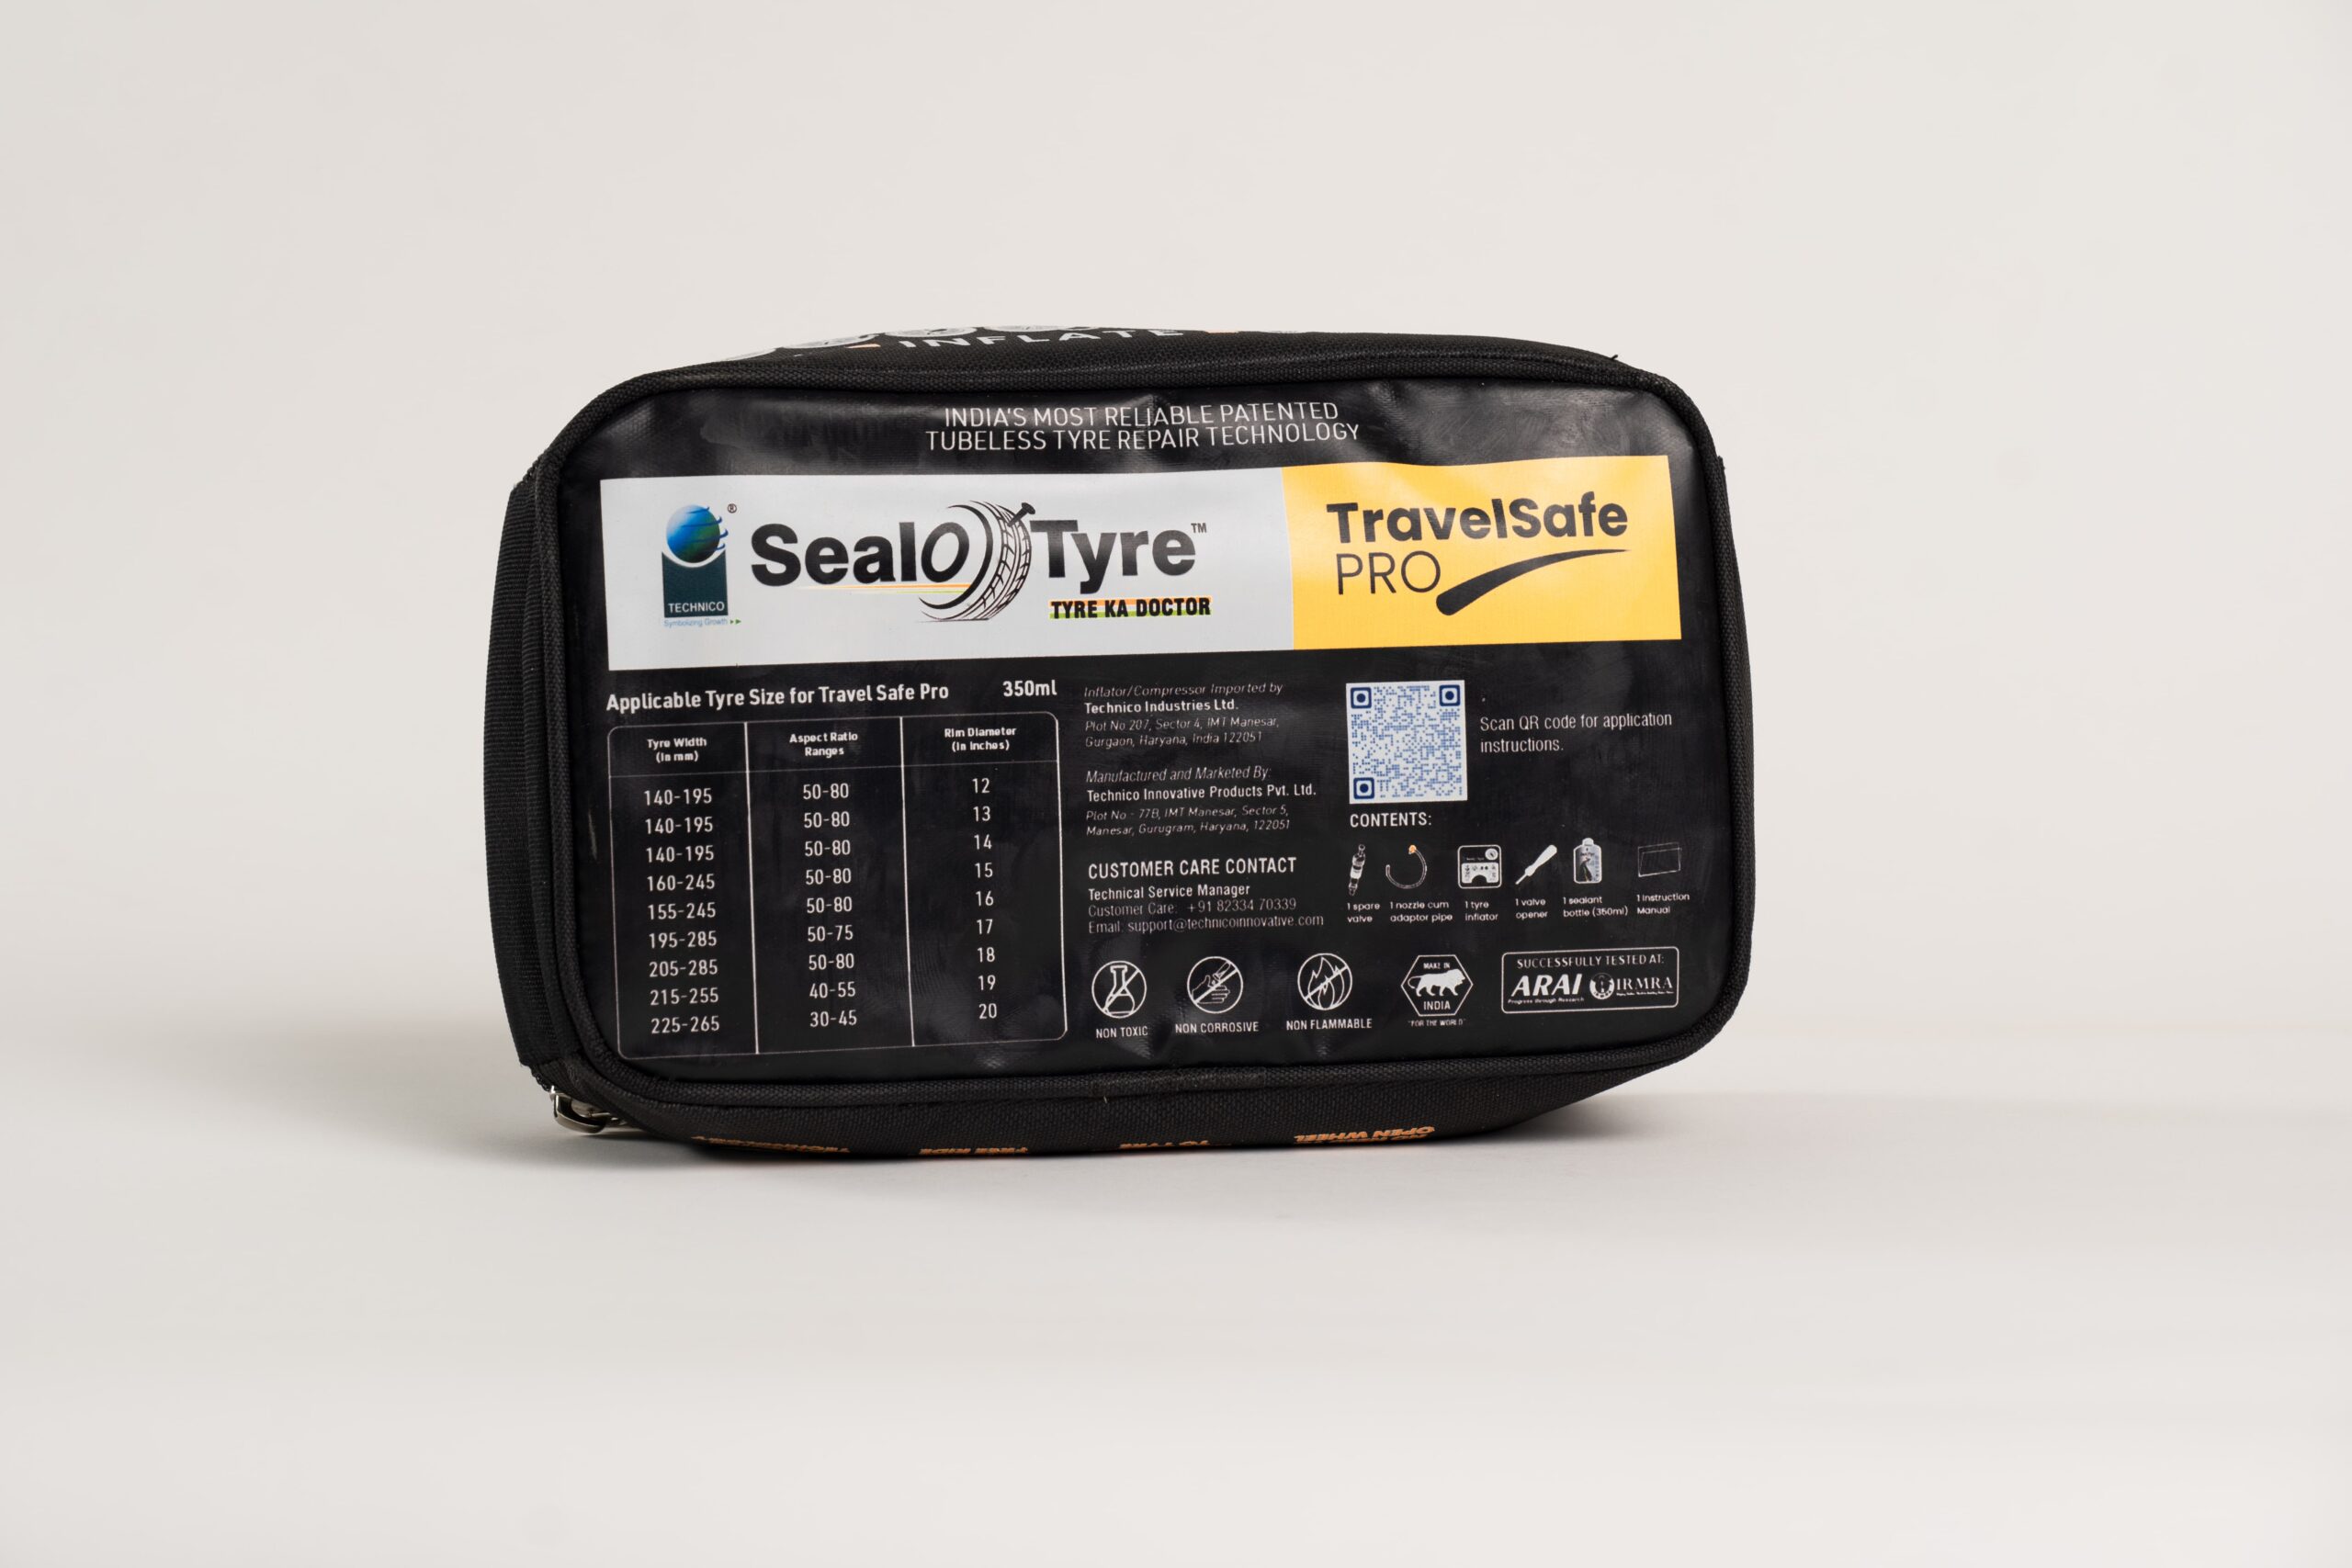
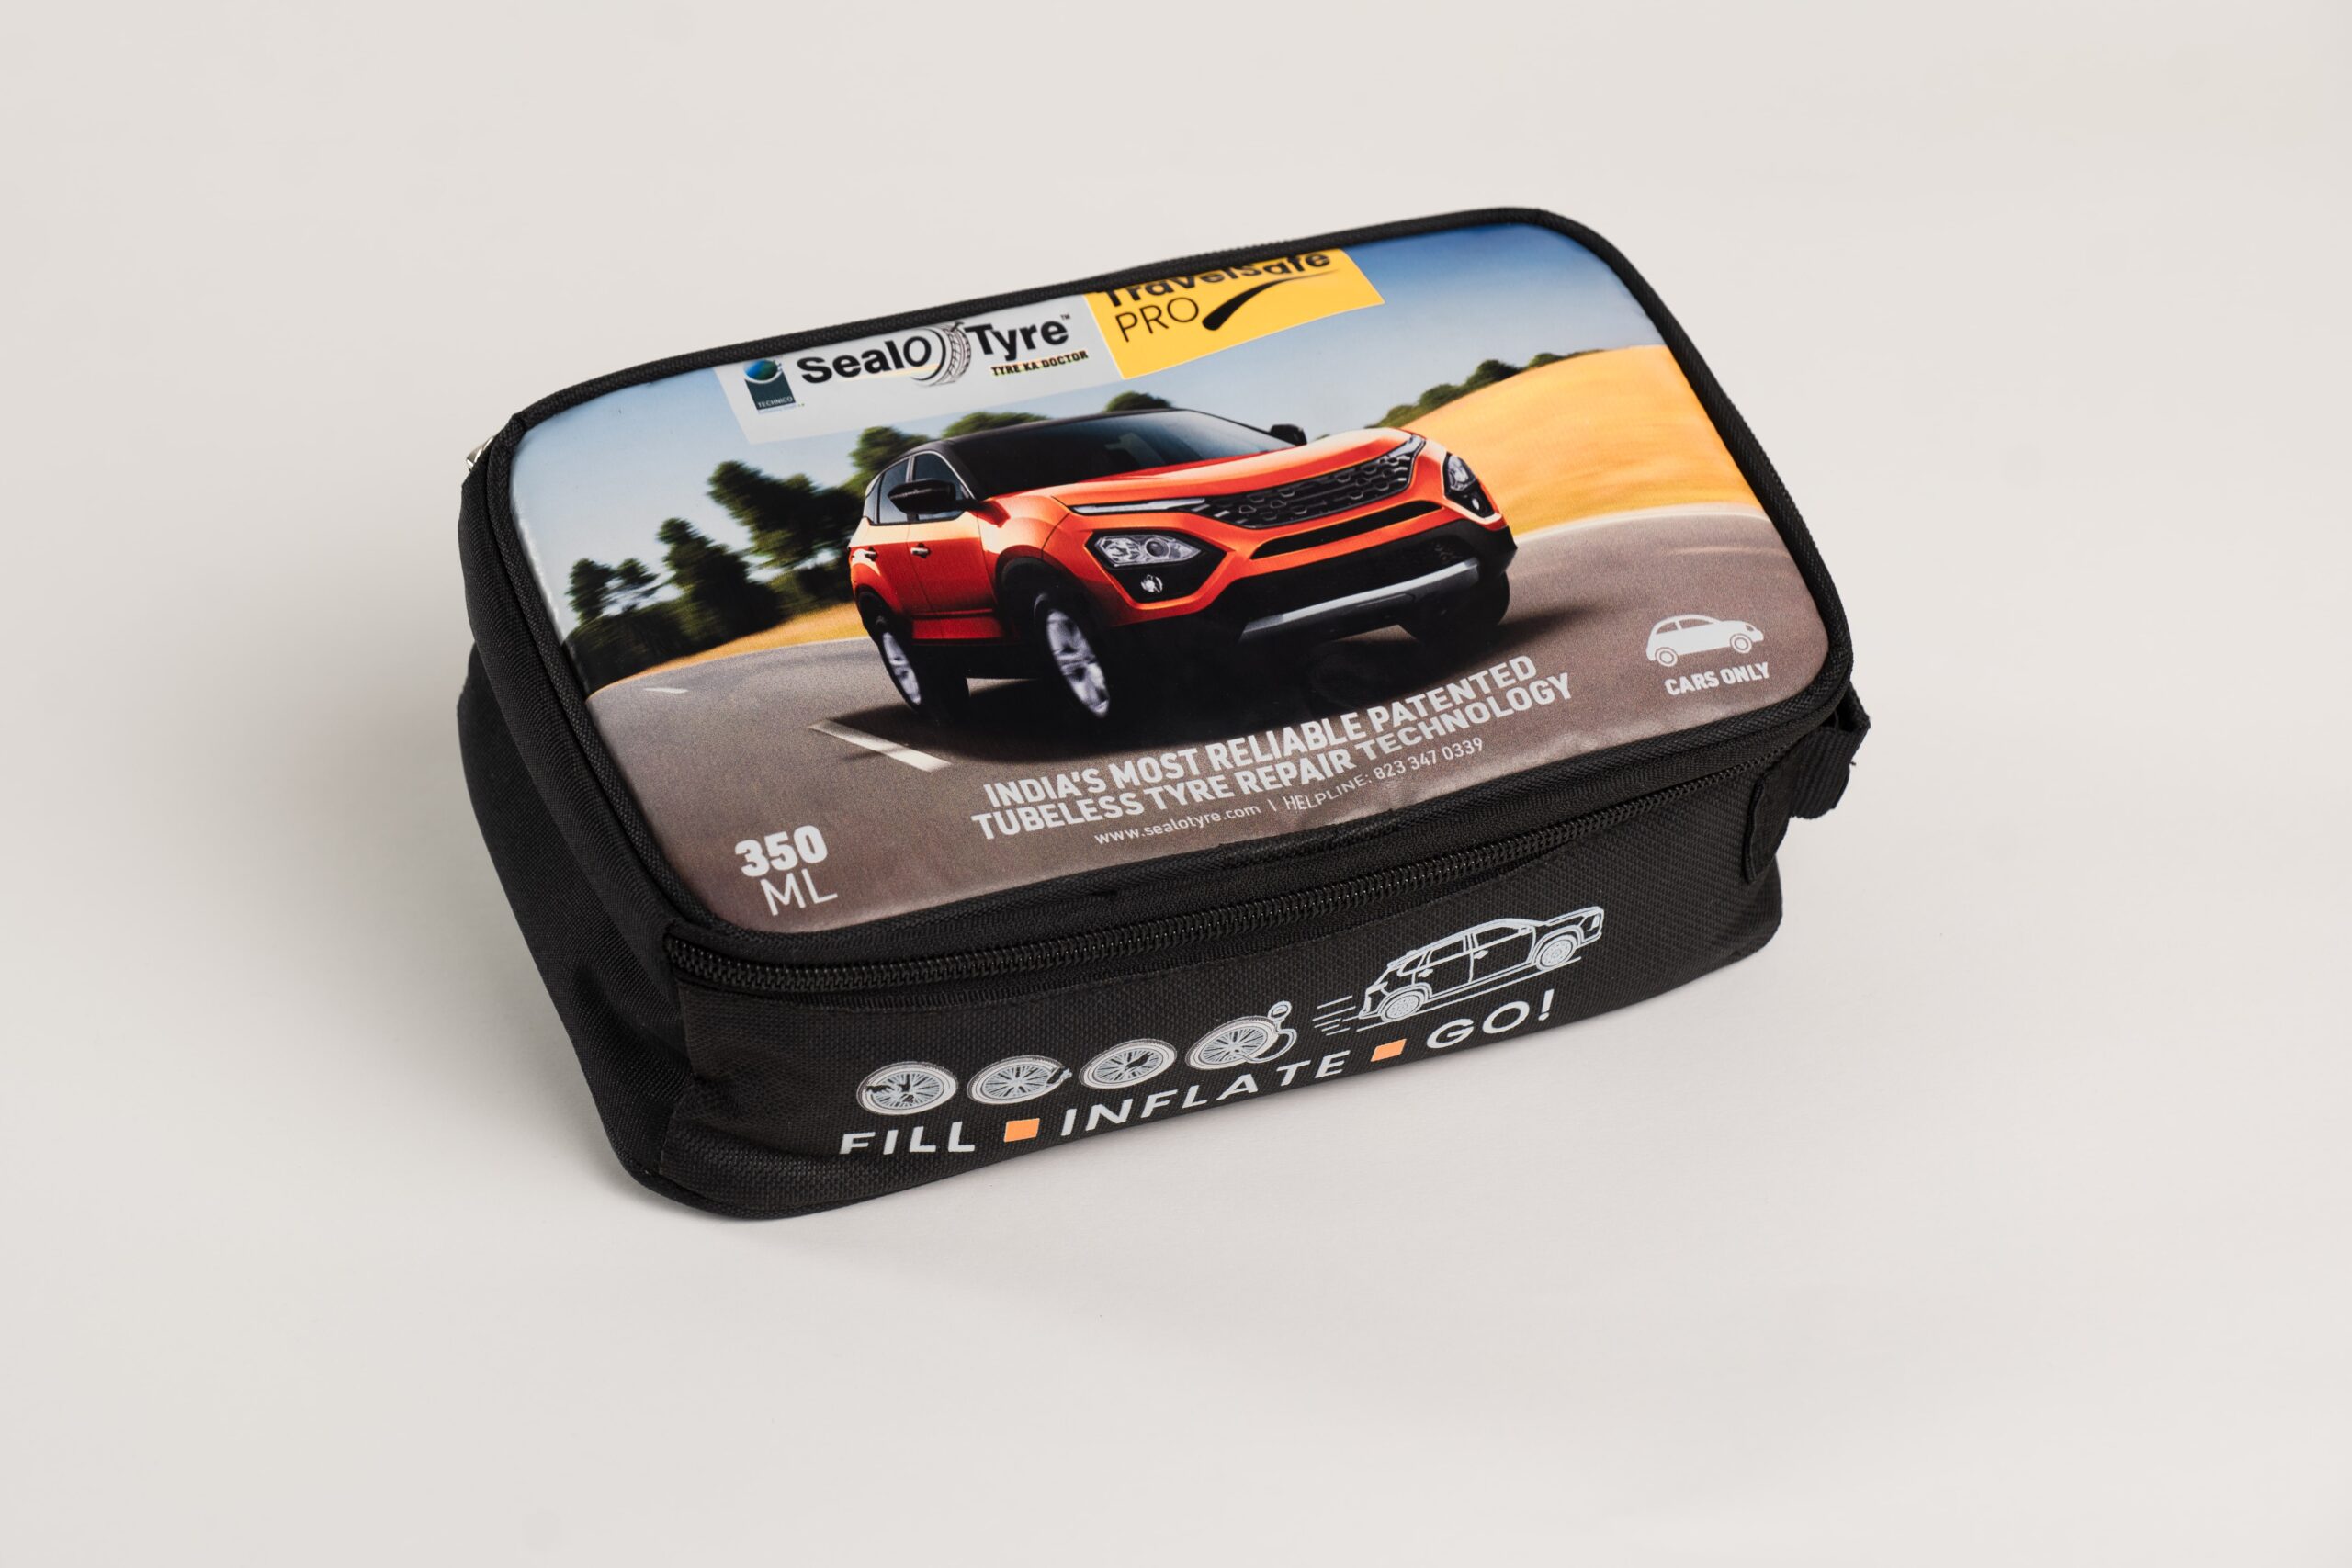
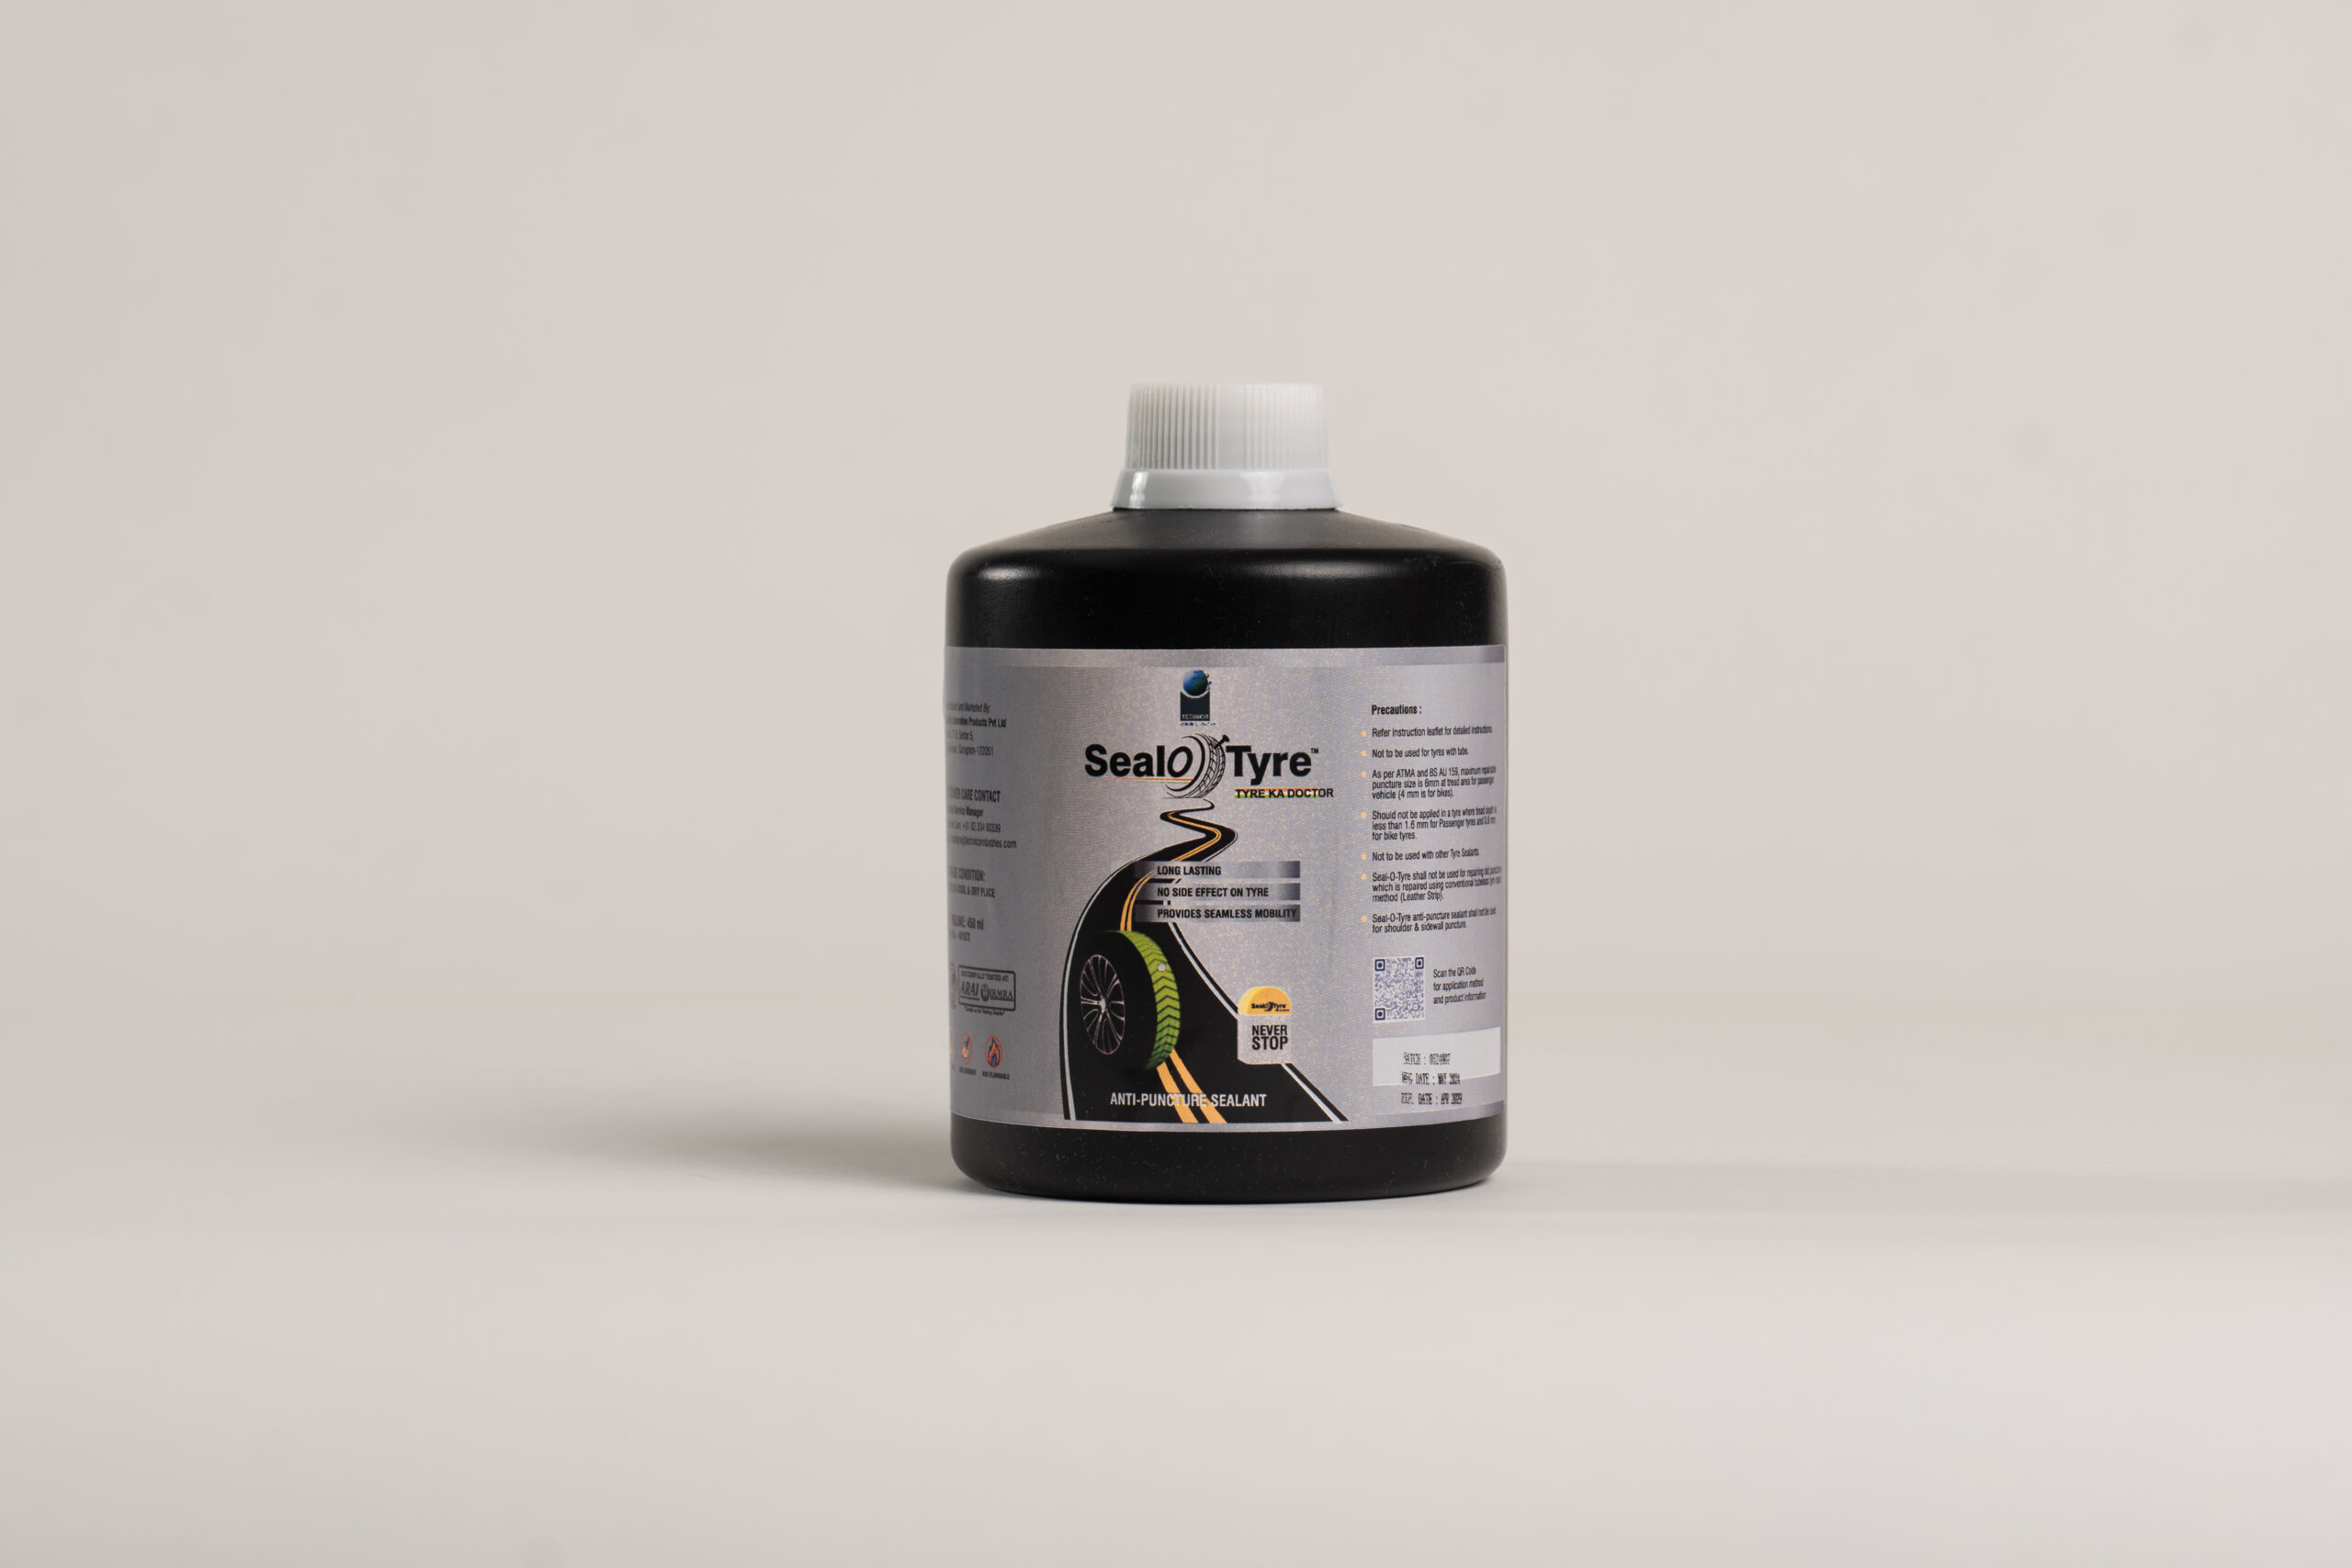
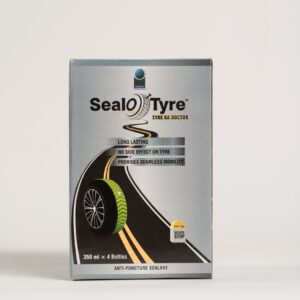
The TravelSafe Pro Kit for smaller cars is the ultimate solution for on-the-road emergencies. This kit includes a 350 ml bottle of our advanced Tyre Sealant, designed to instantly seal any punctures and prevent further air loss. Along with the sealant, the kit features a powerful inflator and all the tools needed for quick tyre repair and maintenance. Designed specifically for vehicles like Hatchback, Sedan, MPV and compact SUV, the TravelSafe Pro Kit’s sealant provides robust puncture coverage, capable of sealing holes up to 6mm in diameter. This allows you to drive safely to a repair shop or your destination, reducing downtime and enhancing your travel security. This kit is essential for anyone who drives larger vehicles and needs reliable protection against tyre damage. Its compact design ensures that it fits easily in your vehicle, ready for whenever you need it. The components are engineered for ease of use, ensuring that drivers of all skill levels can effectively manage tyre emergencies. Equip your large vehicle with the TravelSafe Pro Kit and travel with confidence, knowing that you have the tools and technology to handle unexpected tyre issues efficiently and safely. Our patented technology ensures that the sealant provides continuous and effective protection against punctures, keeping you moving without interruptions.
Note: This kit includes one 350 ml sealant bottle, which is ideal for use on one tyre only.
How To Use TravelSafe Pro Kit For Car?
Step 1: Park the car in a safe and appropriate place carefully. First and foremost, ensure that the tyre nozzle position is like clock time 8 o’clock or 4 o’clock position.
Step 2: Take out the TravelSafe Pro kit from the vehicle trunk and open it.
Step 3: Open the valve core using the valve core opener.
Step 4: Shake the seal-O-Tyre bottle well and remove the cap.
Step 5: Now tighten the yellow cap on the sealant bottle.
Step 6: Mount the sealant bottle on the V slot provided in the inflator.
Step 7: Connect the inflator pipe to the open input nozzle provided in the yellow cap.
Step 8: Fix the yellow cap output pipe on the tyre valve body.
Step 9: Connect the inflator plug to the 12V DC power output provided in the car
Step 10: Now Start the car.
Step 11: Switch on the inflator and run it for 3 minutes to fill the sealant.
(Note: Initially analog meter might show the pressure shoot up but it will soon start from zero.)
Step 12: After 3 minutes of running the inflator switch off the inflator.
Step 13: Now remove the inflator pipe from the yellow cap.
Step 14: Remove the pipe of the yellow cap from tyre valve body.
Step 15: Tighten the valve core on the valve body provided in the tyre.
Step 16: Fix the inflator pipe on the valve body of the tyre and switch on the inflator to fill the air till 30 psi.
(Precaution: The inflator shall not be used continuously for more than 10 minutes.)
Step 17: Switch off the inflator and remove its plug from the power source and inflator pipe from tyre. Store it properly in the vehicle trunk.
Step 18: Drive the vehicle for 10 to 15 minutes (Between 40-80 kmph speed).
Step 19: Stop the vehicle. Check the air pressure of the tyre and fill it to the designated air pressure provided in the vehicle using an inflator.






Reviews
There are no reviews yet.